Introduction
You want to make a push notifications campaign yourself and you don’t know how? It’s very easy, you can follow the steps below.
You will need to configure the Post Office configurations, in order to setup ‘who’ needs to receive the push notification and ‘when’, with the scheduling setup in the message configurations.
Post Office Setup
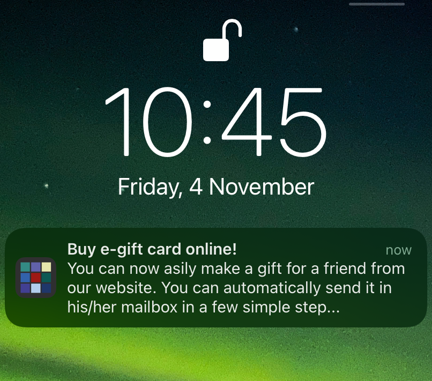
First of all you need to configure the notification, so the message that will be shown on the display of the clients' mobiles.
- Step 1 : Go into your Point of Sales or Configurator software
- Step 2 : Go to Menu – Communication – Post Office – Setup
- Step 3: Select the 'Promotion Push Campaign' or add a new one if it’s not listed
- Step 4: Kind is PushToken
- Step 5: Campaign is : Commercial
- Step 6 : Write the subject and the Text. Those are the one showing on the screen.
- Step 7: Make sure that Action Kind is : Message
- Step 7: Go in the condition table and select “Push notification to all” – if you cannot find it let us know and we'll configure this option for you
- Make sure that both Sending Active and Queuing Active are : ON
Message Setup
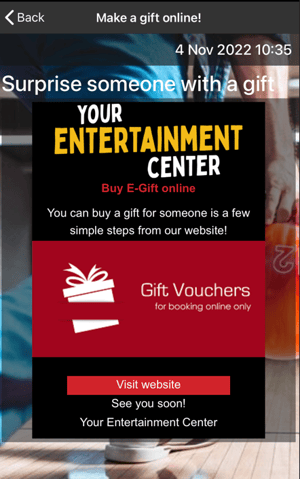
When clicking on the notification, the client can see the actual message you wrote them. Like the example below:
To configure this, please follow these steps:
- Step 1 : Go to Menu – Communication – Communication – Message
- Step 2 : Add a new message and create your design: we provide you with a basic template that you can change and adapt.
- Step 3: Set a Title and a subtitle of the message
- Step 3 : Link the message to the automail setup
- Step 4 : Schedule it
Show to all on the message can be set on ON, and everyone who has access to the app is able to see it in the Inbox in the app, even if you don’t send the push notification.
You can create different push notifications text based on the language, this means that if you add a text in the automail setup for Netherland, french and spanish, make sure to have the message design also in those languages.
Here's an interactive tutorial
** Best experienced in Full Screen (click the icon in the top right corner before you begin) **