Introduction
In BMI Software, included in the F&B package, there is the possibility to manage your Kitchen floors and table. In this article we are going to analyze the most use cases and how to handle them.
Basic Configuration
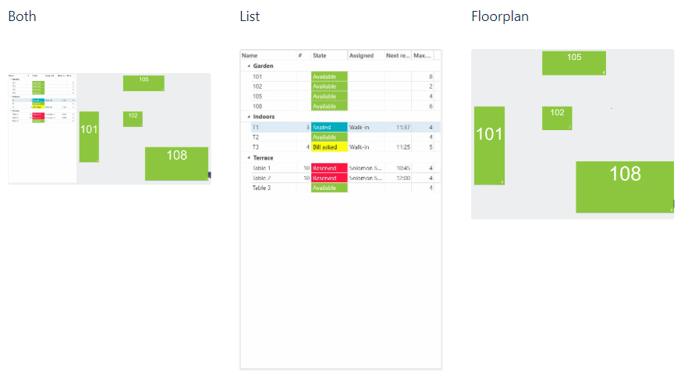
After gaining the license of Table Management, you will find a new tab on the top bar called ( Tables ), in which you have the 3 views you can choose from when it comes to the configuration: (Both, List, and Floor Plan)
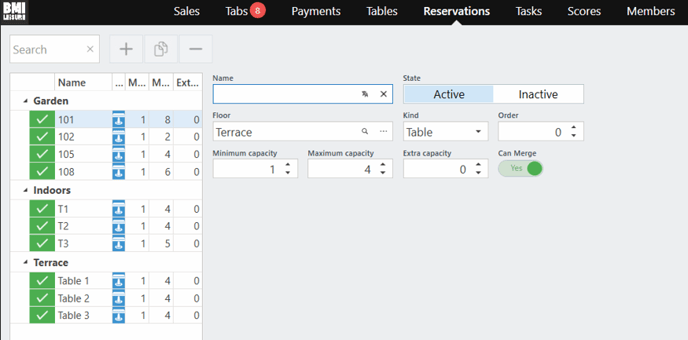
Step 1: Add floor zones
First start with adding / creating floor zones. In this way you can immediatley link the tables to the floorzones.
You can add floorzones by going to: Configurator → Food & Beverages → Floors

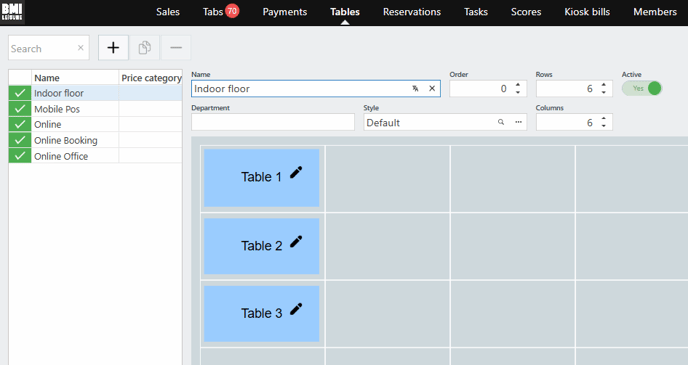
Step 2: Add tables
You can add floorzones by going to: Configurator → Food & Beverages → Tables
Tables have to be active in order to be able to place them on a floorzone. Because we already made our floor zones we can immediately add the floor zone to the table.
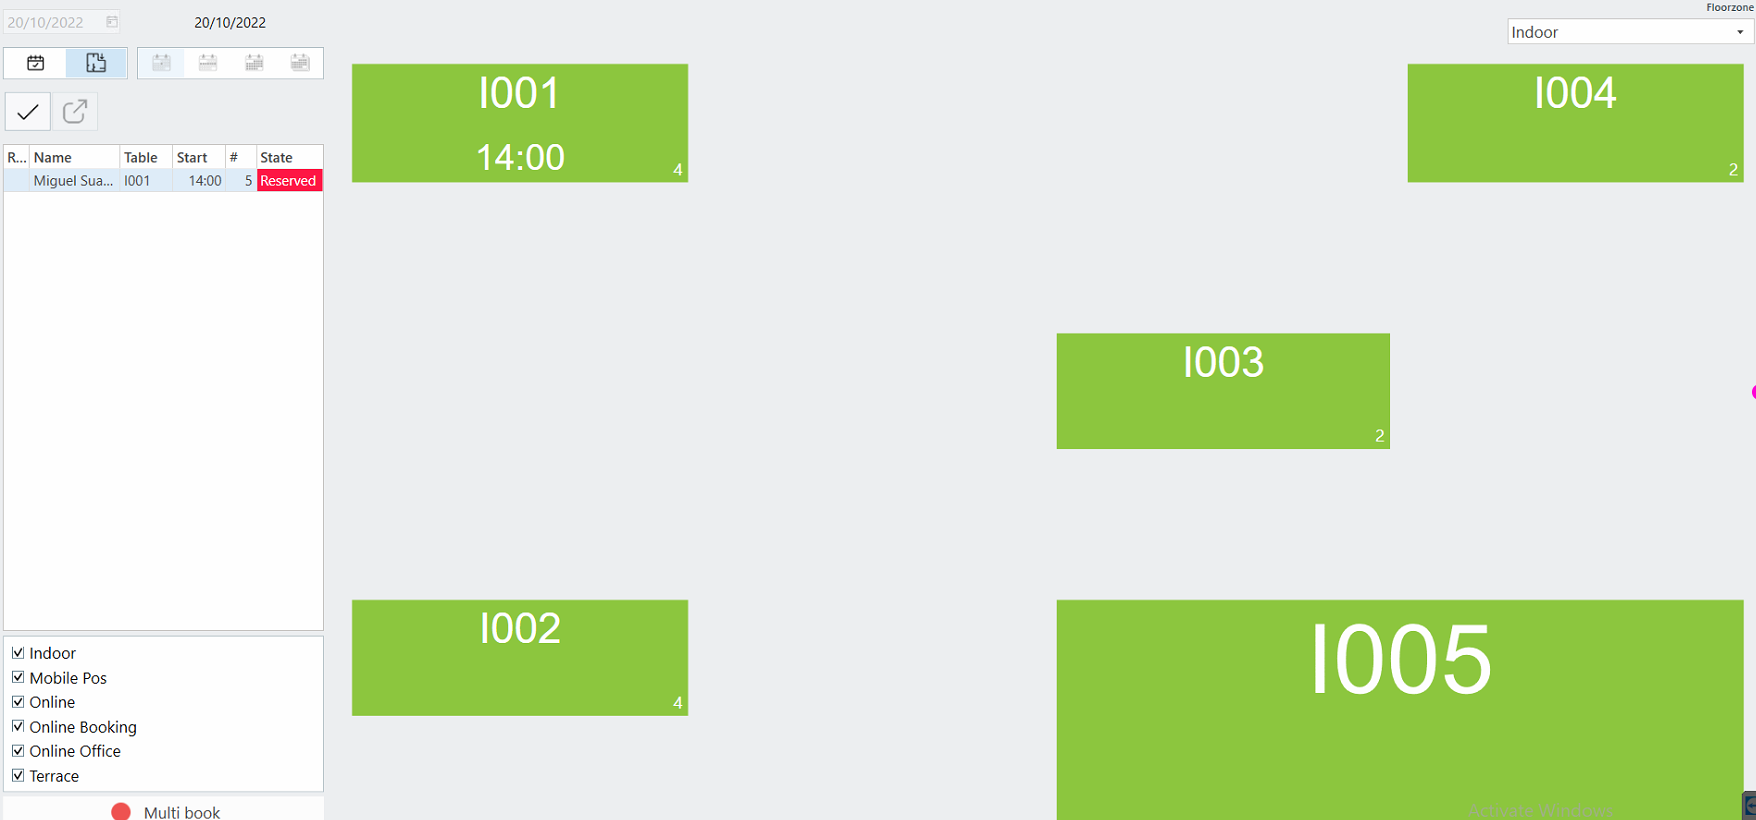
Step 2: Link tables to floorplan
If you go back to the floorzones (Configurator → Food & Beverages → Floors) and you select the floorzone you want to adjust. You can drag and drop the tables on the floor zone.
Reservation
The guests booked in advance a multi-activity event in your center that includes also a booking to the restaurant. In this case, you can reserve in advance the tables together with the rest of the activities in a reservation.
Here's an interactive tutorial
** Best experienced in Full Screen (click the icon in the top right corner before you begin) **
Walk in
If the guests spontaneously arrive at the restaurant and they want to seat, there is also a way to assign a table to the guests in a few simple steps. You can manage all tables from the 'Tables' tab in the Point of Sales.
Here's an interactive tutorial
** Best experienced in Full Screen (click the icon in the top right corner before you begin) **
Walk-ins Pay First
It is also possible that Walk-ins arrive, order and pay immediately. In this case, you can:
- book the table for the guests like you see in the previous tutorial
- make the order/bill and pay without releasing any tables
- Release the table on 'Tables' tab when the clients go.