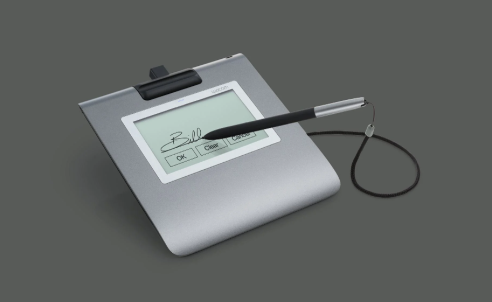
Installation of the signature pad
- Connect the signature pad to the computer via the USB cable provided. Once connected, the screen of the signature pad will light up.
- Based on the brand, you need to download the correct drivers. You can find here the drivers for Wacom signaturepad and Signotec signaturepad .
- Install the driver using the default options.
Configuration
- From the Point of Sales or the Configurator, click on the main Menu ->System-> Environment->Devices.
- Select the right computer name(the one where you want to install the signature pad on), click on the ‘+’ icon and the search for signature.
- Select the correct signature pad brand and click save to apply the configuration.
- Restart booking application to apply changes.
Extra Information:
You can set up 2 Images, which can be shown on the signature Pad. This means one background image for the active state (when the customer has to sign).
The other image is for the idle state (When there is no active communication with the Point of Sales). The best resolution for these images are:
| width [px] | height [px] | |
| active | 800 | 400 |
| idle | 800 | 480 |
Please contact our support to set up the background images.
Use of the Signaturepad on a BMI-Leisure Registration Kiosk
To configure the signature pad on a BMI-Leisure kiosk, you need to do exactly the same steps done above, by adding the new device under the correct Kiosk PC. After that, the only missing thing, is editing your Kiosk Registration survey and configure the question for the signature as 'Sign on Signpad' instead of the standard 'Signature'. This way, the system will ask the signature from the signature pad instead of the touch screen.